
Modern Web UIs with React and AWS Amplify Review

Total time spent
16 hours across 4 days
AWS Services introduced
In this module, we focus mainly (~85%) learning about React, a JavaScript library that helps make modern web development a bit easier.
Amazon Amplify - A solution for full-stack development, hosting and shipping of mobile and web applications.
We briefly talked about AWS Cognito as well as an identity and access management service, but that was not the focus of this course.
What we did (and learnt)
This module is quite an introductory crash course into writing React. The instructor Eric, who is the Chief Technology Officer for SG Code Campus, the company collaborating with SMU to run this diploma, is knowledgeable and shows real-life example of what he built for his own company’s website.
React has quite a steep learning curve if you are not familiar with such open-source JS libraries. Even with my prior exposure (granted, nothing impressive) with Lightning Web Component on Salesforce, a JavaScript framework that makes frontend development easier, I still find it difficult to understand certain things. Perhaps, they are still too different for me to draw common patterns and tap on existing knowledge.
I appreciate the fact that learning React also enhances my comprehension of JavaScript. It enables me to deepen my knowledge of concepts such as object destructuring, which involves extracting values from a JavaScript array for immediate use, as well as arrow functions, a more modern syntax for writing code compared to traditional expressions.
For React-specific concepts, I learn about React JSX, Props, Reducers, Actions, Store, among others. They can be quite hard to wrap your head around if you are newly exposed to them. Let me recall them in this blog post.
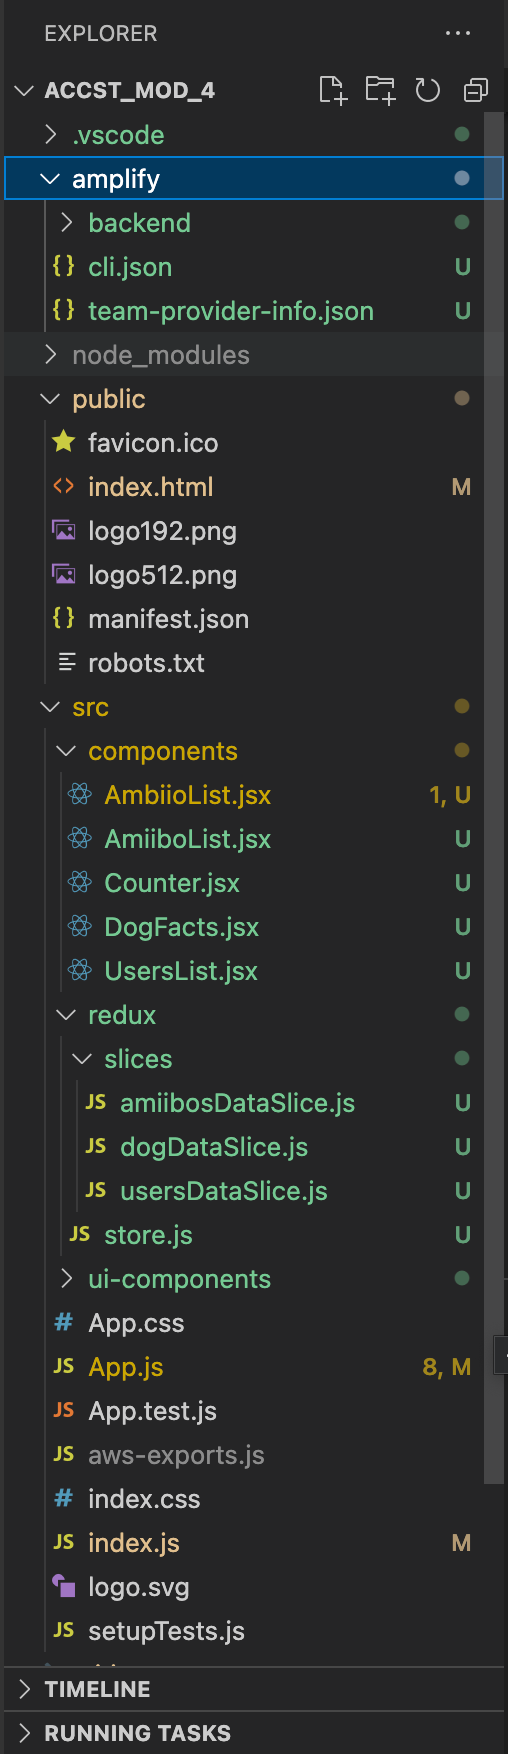
Let’s begin with the structure of what I learnt.
Nothing except stylesheet references goes into the index.html as I understand. The reason for that in React is, it goes against the principles of modular design and maintainability. React encourages developers to break down their application into reusable components that can be easily tested and maintained. Writing code directly in the index.html file would make it difficult to manage and maintain the codebase as the application grows.
This is the index.html I used for my React learning.
<!DOCTYPE html>
<html lang="en">
  <head>
    <meta charset="utf-8" />
    <link rel="icon" href="%PUBLIC_URL%/favicon.ico" />
    <meta name="viewport" content="width=device-width, initial-scale=1" />
    <meta name="theme-color" content="#000000" />
    <meta
      name="description"
      content="Web site created using create-react-app"
    />
    <link rel="apple-touch-icon" href="%PUBLIC_URL%/logo192.png" />
    <!--
      manifest.json provides metadata used when your web app is installed on a
      user's mobile device or desktop. See https://developers.google.com/web/fundamentals/web-app-manifest/
    -->
    <link rel="manifest" href="%PUBLIC_URL%/manifest.json" />
    <!--
      Notice the use of %PUBLIC_URL% in the tags above.
      It will be replaced with the URL of the `public` folder during the build.
      Only files inside the `public` folder can be referenced from the HTML.

      Unlike "/favicon.ico" or "favicon.ico", "%PUBLIC_URL%/favicon.ico" will
      work correctly both with client-side routing and a non-root public URL.
      Learn how to configure a non-root public URL by running `npm run build`.
    -->
    <link rel="stylesheet" href="https://fonts.googleapis.com/css?family=Roboto:300,400,500,700&display=swap"/>
    <link rel="stylesheet" href="https://fonts.googleapis.com/icon?family=Material+Icons">
    <link rel="preconnect" href="https://fonts.googleapis.com">
    <link rel="preconnect" href="https://fonts.gstatic.com" crossorigin>
    <link href="https://fonts.googleapis.com/css2?family=Roboto:wght@300&display=swap" rel="stylesheet">

    <title>React App</title>
  </head>
  <body>
    <noscript>You need to enable JavaScript to run this app.</noscript>
    <div id="root"></div>
    <!--
      This HTML file is a template.
      If you open it directly in the browser, you will see an empty page.

      You can add webfonts, meta tags, or analytics to this file.
      The build step will place the bundled scripts into the <body> tag.

      To begin the development, run `npm start` or `yarn start`.
      To create a production bundle, use `npm run build` or `yarn build`.
    -->
  </body>
</html>
The root div is a DOM element that serves as the entry point for a React application. It is typically found in the index.html file and is used as the container for the React application. When you render a React component, it will be mounted within this root div. This allows you to have multiple React applications on a single page by using different root elements for each application.
Index.js will use ReactDom.render() and receive the app.js and root element as arguments to render the React application within the root div.
import { ThemeProvider } from "@aws-amplify/ui-react";
import { Amplify } from 'aws-amplify';

import React from 'react';
import ReactDOM from 'react-dom/client';
import './index.css';
import App from './App';
import { Provider } from 'react-redux';
import store from './redux/store';
import awsconfig from './aws-exports';
import "@aws-amplify/ui-react/styles.css";
import { studioTheme } from "./ui-components";

Amplify.configure(awsconfig);

const root = ReactDOM.createRoot(document.getElementById('root'));
root.render(
  <React.StrictMode>
    {/* wrapping the app so everything can access the provider */}
    {/* the order doesn't matter but as a general practice, data is above theme</ThemeProvider> */}
    <Provider store={store}>
      <ThemeProvider theme={studioTheme}>
        <App />
      </ThemeProvider>
    </Provider>
  </React.StrictMode>
);
In index.js, again we don’t write much into it except the wrapper for the React store and the studio theme
The Provider component is a React component that comes from the react-redux library. In the above code, it is used to make the Redux store available to all components within the application. By wrapping the entire application with the Provider component and passing in the store as a prop, any component within the application can access the Redux store and dispatch actions or read data from it.
For the ThemeProvider component, it is a common pattern in React for providing theme-related values to all components within the application. By wrapping the entire application with the ThemeProvider component and passing in a theme object, any component within the application can access theme-related values such as colours or fonts.
The App.js is the main component of a React application. Its purpose is to serve as the entry point for the application and to render the top-level components of the application. It is responsible for setting up the overall structure and layout of the application and for coordinating the interactions between different components.
In a typical React-Redux application, App.js or any other component can access the Redux store and its reducers by using the connect function from the react-redux library. The connect function allows you to specify which parts of the Redux store state you want to access and which actions you want to dispatch. It then generates a new component that is connected to the Redux store and passes in the specified state and actions as props.
Alternatively, you can use the useSelector and useDispatch hooks from the react-redux library to access the Redux store state and dispatch actions within a functional component.
In this course, we are taught useSelector and useDispatch hooks instead.
import { useEffect } from 'react';
import { useSelector, useDispatch } from 'react-redux';

import './App.css';
import UsersList from './components/UsersList';
import Counter from './components/Counter';
import AmiiboList from './components/AmiiboList';
import DogFacts from './components/DogFacts';
import { deleteUser } from './redux/slices/usersDataSlice';
import { preloadData } from './redux/slices/amiibosDataSlice';
import { deleteFact } from './redux/slices/dogDataSlice';
import TallCard from './ui-components/TallCard';

const App = () => {
  const usersData = useSelector((state) => {
    return state.usersData;
  });

  const dogData = useSelector((state) => {
    return state.dogData;
  });

  const amiibosData = useSelector((state) => {
    return state.amiibosData;
  });

  const dispatch = useDispatch();

  const handleDeleteUser = (id) => {
    return () => {
      dispatch(deleteUser(id));
    };
  };

  const handleDeleteFact = (id) => {
    return () => {
      dispatch(deleteFact(id));
    };
  };

  useEffect(() => {
    fetch('https://www.amiiboapi.com/api/amiibo/')
      .then((response) => {
        return response.json();
      })
      .then(({ amiibo }) => {
        dispatch(preloadData(amiibo));
      })
      .catch((err) => {
        console.log(err);
      });
  }, []);

  return (
    <div>
      <DogFacts dogData={dogData} handleDeleteFact={handleDeleteFact}></DogFacts>
      {/* <TallCard
        imageUrl='https://raw.githubusercontent.com/N3evin/AmiiboAPI/master/images/icon_00000000-00000002.png'
        productTitle='Camera'
        productPrice={200}
      ></TallCard>*/}
      {/* <AmiiboList amiibosData={amiibosData}></AmiiboList> */}
      {/* <Counter></Counter> */}
      {/* <UsersList usersData={usersData} handleDeleteUser={handleDeleteUser}></UsersList> */}
    </div>
  );
};

export default App;
useSelector is a hook that allows you to extract data from the Redux store state. It takes a selector function as an argument, which specifies which part of the store state you want to access. The hook then returns the selected state and re-renders the component whenever the selected state changes.
useDispatch is a hook that returns a reference to the Redux store’s dispatch function. You can use this function to dispatch actions to the store. When an action is dispatched, the store’s reducers are called with the current state and the dispatched action. The reducers then update the store state based on the action.
So how do we define the Redux store?
In Redux, a slice refers to a portion of the Redux store state that is managed by a specific reducer. Each slice typically corresponds to a specific domain or feature within the application and has its own actions and reducer.
A reducer is a function that takes in the current state and an action and returns the next state. It is responsible for updating the state of a specific slice based on the dispatched actions. When an action is dispatched to the store, all reducers are called with the current state and the dispatched action. Each reducer then updates its own slice of the state based on the action.
store.js is typically the file where the Redux store is created and configured. It is responsible for combining all the reducers from different slices into a single root reducer using the combineReducers function from the redux library. The root reducer is then used to create the Redux store.
import { configureStore } from '@reduxjs/toolkit';

import usersDataReducer from './slices/usersDataSlice';
import amiibosDataReducer from './slices/amiibosDataSlice';
import dogDataReducer from './slices/dogDataSlice';

const store = configureStore({
  reducer: {
    // Add your reducers here
    usersData: usersDataReducer,
    amiibosData: amiibosDataReducer,
    dogData: dogDataReducer,
  },
});

export default store;
As the above code suggests, all the reducers are combine in one place. The purpose of the store is, it acts as a centralised place to manage the state of a React application. It provides several benefits over managing state within individual components:
Predictability: The Redux store enforces a strict unidirectional data flow, making it easier to understand how data changes within the application.
Maintainability: By centralising the state in a single store, it becomes easier to manage and update the state as the application grows.
Debuggability: The Redux store provides powerful debugging tools that allow you to track changes to the state over time and identify issues more easily.
Reusability: By separating the state from the components, it becomes easier to reuse components across different parts of the application.
Next, we have React JSX, which lets us write and add HTML in React. This is an example I wrote during class. You can see that the HTML is embedded within <div></div>, incorporating Material UI.
import React from 'react';
import { Button, Grid, Card, CardContent, CardMedia, Typography } from '@mui/material';

const DogFacts = ({ dogData, handleDeleteFact }) => {
  return (
    <div>
      {dogData
        .map((dogs) => {
          return {
            ...dogs,
          };
        })
        .map(({ id, fact, imageURL }) => {
          return (

            <Grid item xs={12} sm={6} md={4} key={id}>
              <Card>
              <CardMedia component='img' height='500px' image={imageURL} />
              <CardContent>
                <Typography variant='h5' component='h2' gutterBottom>
                  {fact}
                </Typography>
              </CardContent>
              <Button variant='contained' onClick={handleDeleteFact(id)}>
                 Delete Fact
              </Button>
              <Button variant='contained'>
                 Like
              </Button>
            </Card>
            </Grid>


          );
        })}
    </div>
  );
};

export default DogFacts;
Without JSX, the way to write HTML will be a lot less intuitive and more painful. An example from w3schools:
const myElement = React.createElement('h1', {}, 'I do not use JSX!');JSX will then be exported and used in the app.js.
How does AWS Amplify come into the picture
The neat thing about the course is, the instructor taught us how to use AWS Amplify without getting fully locked in by the vendor. AWS Amplify is used to sync with Figma using AWS Amplify Studio, allowing us to design them in Figma then import them as code into the studio.
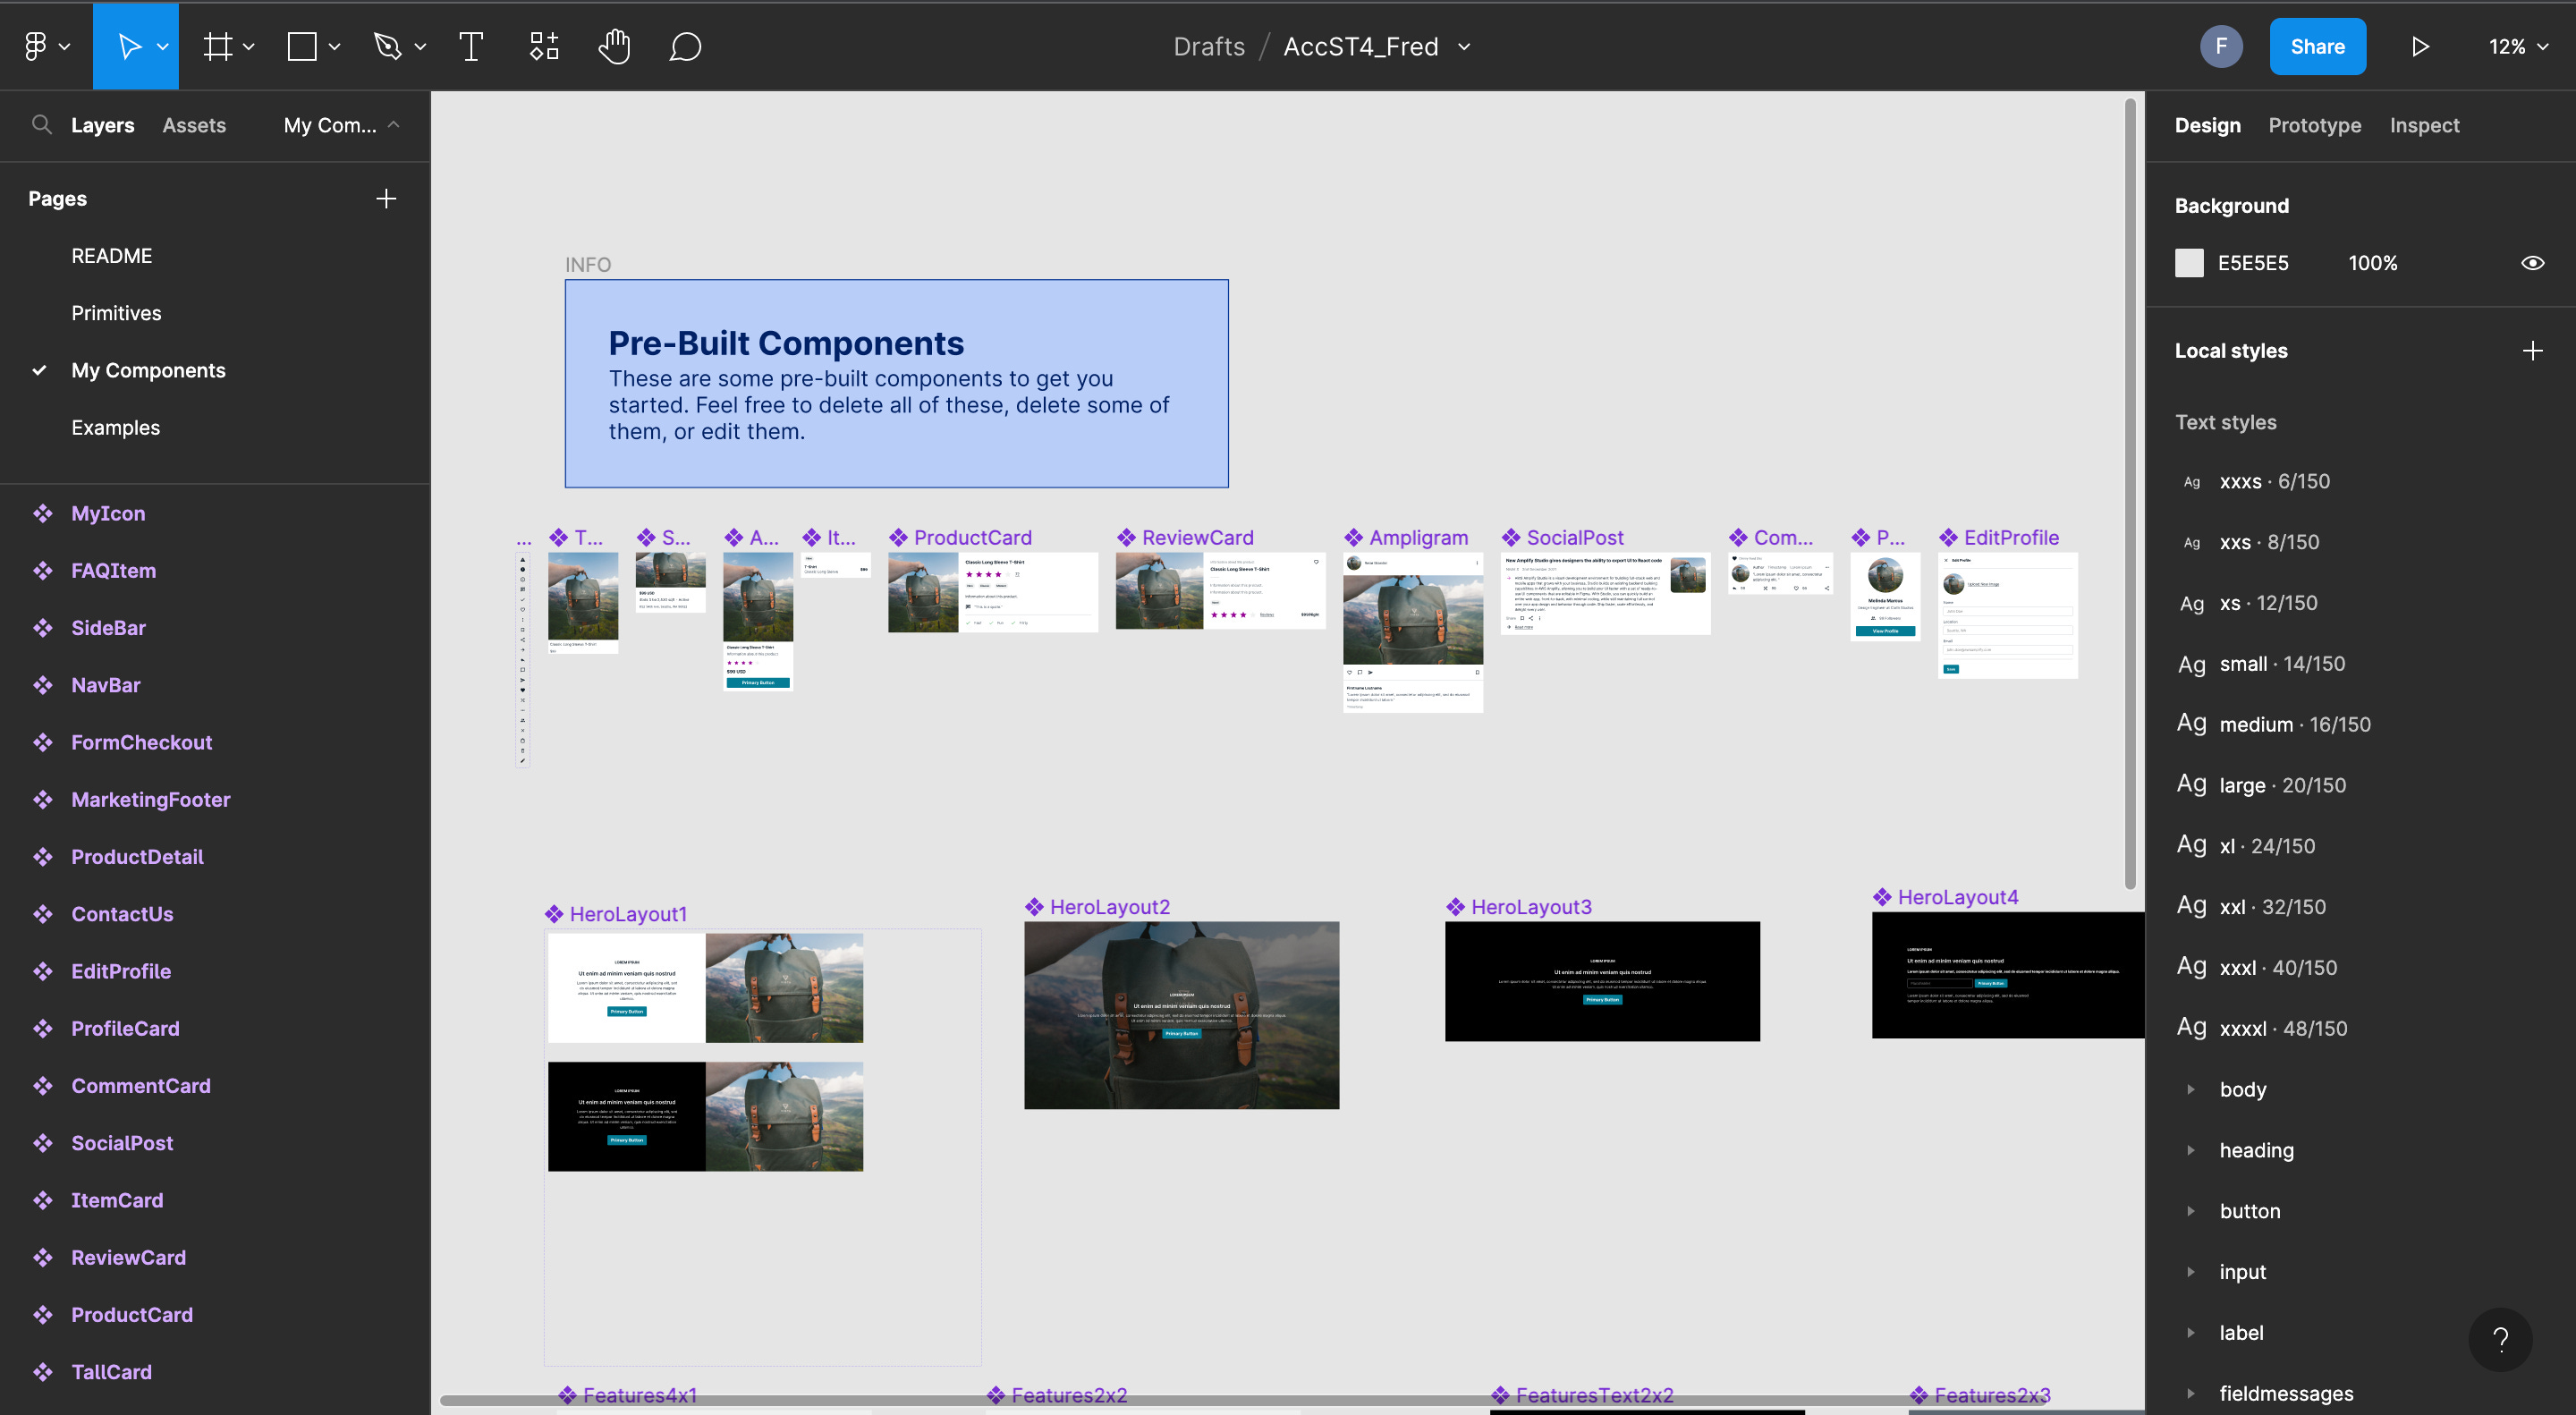
The code can then be synced to your development work using React, which will appear as .jsx files in the ui-component folder.
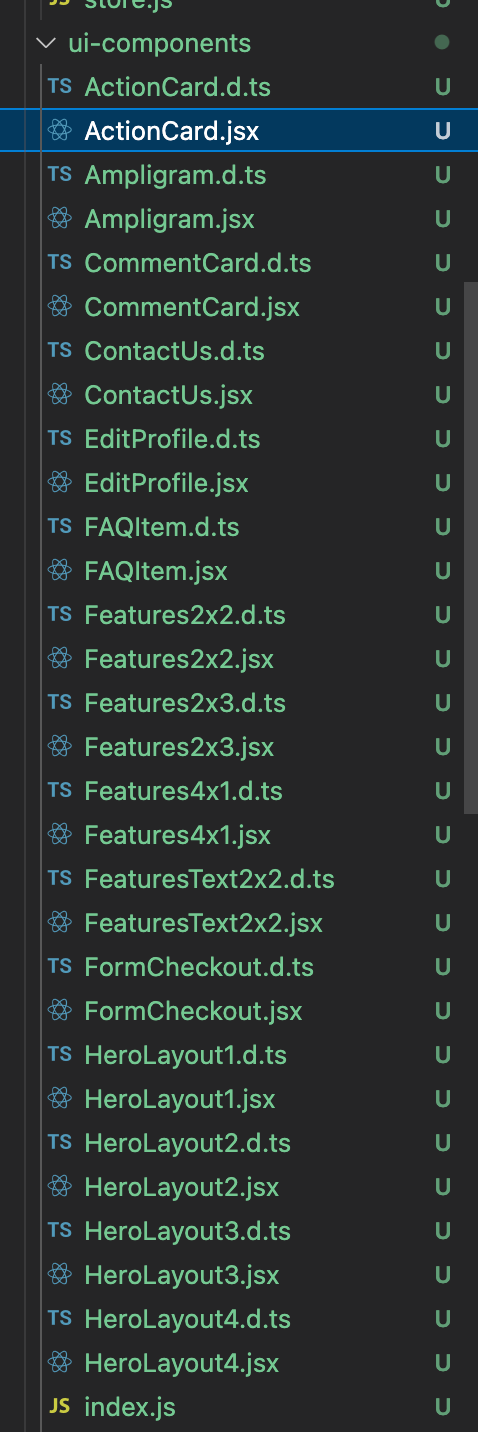
With this approach, we have the option to limit our use of AWS Amplify by building the application outside of it, avoiding vendor lock-in.
Practical assessment
The practical assessment this time is somewhat harder than the previous ones as it involves building our own slice, reducer and JSX and importing them to the App.js. There are a lot of moving parts across different files, so syntactical mistakes, which sometimes still allow you to compile, make it difficult to troubleshoot.
They did suggest a browser extension, and in Chrome’s case, the React dev tool to help debugging.
What is good
Eric’s knowledge is incredible, being able to branch out and diverge into the bigger technical overview as and when that helps us to understand and become better developers
How to use AWS Amplify in a practical context while avoiding full vendor lock-in is neat too. This is something we can never learn from AWS itself, or via online courses
What can be improved
React can have a steep learning curve for beginners, but it’s just part of the process. Nothing much the course can improve in my opinion, in this context.